Ever felt those stubborn knots in your muscles after a tough workout or a long day hunched over a desk? Meet your new best friend: the foam roller. For beginners, this simple yet incredibly effective tool can be a game-changer, transforming how your body feels, moves, and recovers. At Reviewters Recovery, we believe everyone deserves to feel their best, and starting with a foam roller for beginners is one of the smartest steps you can take toward improved well-being. It’s not just for elite athletes; it’s for anyone looking to unlock greater flexibility, reduce everyday aches, and feel more connected to their body.
What Exactly is a Foam Roller and How Does It Work?
Think of foam rolling as a self-administered deep tissue massage, a technique formally known as Self-Myofascial Release (SMR). Myofascia is the intricate web of connective tissue that surrounds and supports your muscles, bones, and organs. When you’re active, inactive for too long, or experience repetitive movements, this fascia can develop “knots” or adhesions—tight, restricted areas that can limit your movement, cause pain, and hinder muscle function.
When you roll over these tight spots with a foam roller, you apply targeted pressure. This compression helps to break up those adhesions and encourage blood flow to the affected area. Increased blood flow means more oxygen and nutrients reaching your muscles, promoting healing and helping your fascia return to its normal, pliable state. It essentially gives your muscles a gentle reset, allowing them to lengthen and move more freely.
Why Every Beginner Should Try Foam Rolling: The Benefits
Integrating a foam roller into your routine, even just a few times a week, can yield a surprising array of benefits that go far beyond just soothing sore muscles.
Ease Muscle Soreness and Tightness
|
Our Picks for the Best Foam Roller in 2026
As an Amazon Associate I earn from qualifying purchases.
|
||
| Num | Product | Action |
|---|---|---|
| 1 | Yes4All High-Density EPP Round Back Roller Foam, Exercise Foam Roller for Yoga, Pilates & Stretching - 12, 18, 24, 36 inch |

|
| 2 | High Density Foam Roller Massager for Deep Tissue Massage of The Back and Leg Muscles - Self Myofascial Release of Painful Trigger Point Muscle Adhesions - 13" Blue |
|
| 3 | TriggerPoint Grid 1.0 Foam Roller - 13" Multi-Density Massage Roller for Deep Tissue & Muscle Recovery - Relieves Tight, Sore Muscles & Kinks, Improves Mobility & Circulation - Targets Key Body Parts |
|
| 4 | 321 Strong Foam Roller - Medium Density Deep Tissue Massager for Muscle Massage and Myofascial Trigger Point Release, with 4K eBook |
|
| 5 | Amazon Basics High Density Foam Roller |
|
| 6 | Amazon Basics High Density Foam Roller |
|
| 7 | Tiger Ball Peanut 2.4 Foam Roller – Deep Tissue Massage Ball for Back & Neck, Myofascial Trigger Point Therapy Tool, Dual Silicone Balls with Gription – Compact, Portable, Non-Slip Recovery Roller |
|
| 8 | Amazon Basics High Density Foam Roller |
|
| 9 | Amazon Basics High Density Foam Roller |
|
| 10 | Amazon Basics High Density Foam Roller |
|
One of the most immediate and satisfying benefits for beginners is the reduction of muscle soreness, often referred to as DOMS (Delayed Onset Muscle Soreness). By applying pressure to tight areas, foam rolling helps release tension and can significantly alleviate that post-workout ache, making your recovery smoother and quicker.
Boost Flexibility and Range of Motion
Those tight spots in your fascia and muscles can drastically limit your ability to move through a full range of motion. Regular foam rolling helps to stretch and loosen these restricted tissues, leading to improved flexibility. This isn’t just about touching your toes; it means more fluid movement in daily activities and better performance in your chosen exercises.
Enhance Recovery and Blood Flow
Foam rolling acts like a natural circulatory booster. The compression and release action stimulates blood flow, delivering vital oxygen and nutrients to your tired muscles while also helping to flush out metabolic waste products like lactic acid. This enhanced circulation is crucial for muscle repair and faster recovery.
Injury Prevention and Better Posture
By addressing muscle imbalances and releasing tightness, foam rolling can play a significant role in preventing injuries. When your muscles and fascia are working optimally, they can better absorb impact and handle stress. Furthermore, releasing tension in areas like the upper back and chest can help counteract the effects of poor posture, encouraging a more aligned and upright stance.
Stress Relief
Beyond the physical benefits, foam rolling can also be incredibly calming. Taking a few minutes to connect with your body, focus on your breath, and release physical tension can have a profound impact on your mental state, offering a moment of mindful self-care in a busy day.
Choosing Your First Foam Roller: A Beginner’s Guide
Stepping into the world of foam rollers can feel a bit overwhelming with all the options out there. But for a foam roller for beginners, simplicity and comfort are key.
Density: Soft is Best for Starters
The most crucial factor for beginners is density. You’ll want to start with a soft (low-density) foam roller. These are more forgiving and provide a gentler massage. As your body adapts and your muscles become more accustomed to the pressure, you can gradually progress to a medium or firm roller for a deeper release. Often, softer rollers are white, while firmer ones are black.
Surface Texture: Smooth for Gentle Pressure
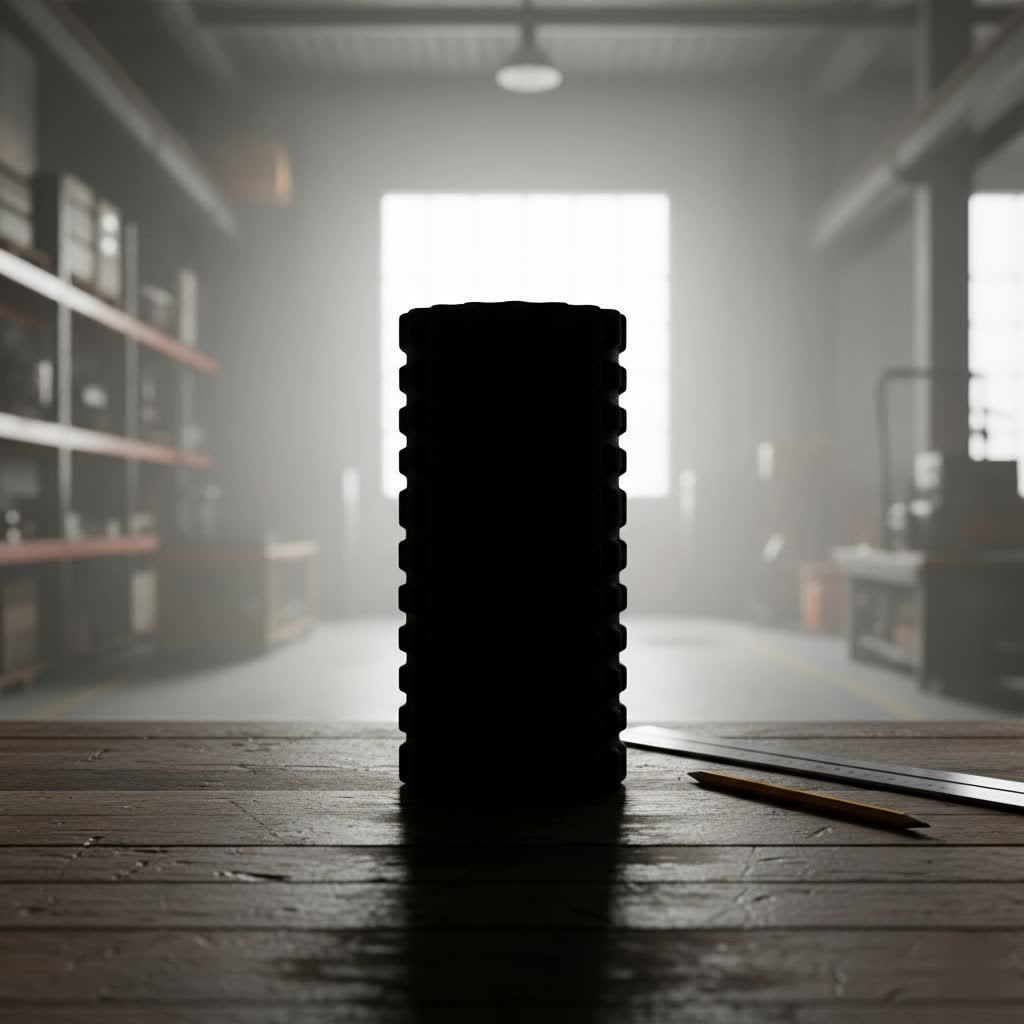
Smooth foam rollers are your best bet when you’re just starting. They provide even pressure across the entire surface, which is less intense than textured rollers with knobs or ridges. While textured rollers can mimic a masseuse’s hands for targeted relief, they can be too aggressive for beginners. Start smooth, then explore textures if you feel the need for a deeper, more pinpointed massage down the line.
Size and Shape: Versatility for Your Entire Body
For your first foam roller, a standard 36-inch length is highly recommended. This longer size offers stability and versatility, making it suitable for rolling out larger muscle groups like your back and hamstrings without feeling like you’re going to fall off. Standard diameters (around 5-6 inches) are also generally comfortable and easy to control. Shorter rollers (12-18 inches) are great for targeted areas or travel, but a long one is more comprehensive for a beginner.
“Choosing the right foam roller at the start makes all the difference for a positive experience,” says Dr. Elena Rodriguez, a sports physiotherapist and recovery specialist. “A softer, smooth, and standard-sized roller allows beginners to focus on technique and build tolerance without unnecessary discomfort or potential bruising. It’s about easing into the practice, not conquering pain.”
Foam Rolling for Beginners: Essential Techniques and Safety First
Getting started with your foam roller isn’t complicated, but understanding proper technique and safety precautions will ensure you get the most benefits without harm.
Slow and Controlled Movements
The golden rule of foam rolling is to go slow. Roll slowly, about one inch per second, back and forth along the length of the muscle. This allows your muscles time to relax and gives you control over the pressure.
Listen to Your Body: Discomfort vs. Pain
Foam rolling can be uncomfortable, especially when you hit a tight spot – some even call it “good pain.” However, it should never be excruciatingly painful. If you experience sharp, shooting, or unbearable pain, ease up on the pressure or move to a less sensitive area. When your muscles tense up from pain, it defeats the purpose of trying to release them.
Targeting Tender Spots
When you find a particularly tender or tight spot (often called a trigger point or knot), pause and hold sustained pressure on that area for 20-30 seconds. Breathe deeply and allow your muscle to relax into the roller. You can also gently roll back and forth a small distance over the spot.
Areas to Avoid
While foam rolling is fantastic, some areas are best avoided, especially for beginners:
- Joints: Never roll directly over your joints (knees, elbows, shoulders, etc.), as this can cause inflammation to ligaments and tendons.
- Lower Back (Lumbar Spine): Avoid rolling directly on your lower back. The lumbar spine is designed for stability, and excessive rolling can hyperextend it and cause injury. Instead, focus on the upper and mid-back (thoracic spine).
- Neck: The neck is a sensitive area with many delicate structures. It’s generally best to avoid direct foam rolling here unless guided by a professional.
- Bony Prominences: Do not roll directly over bones, as this can lead to bruising or irritation.
Breathing and Core Engagement
Remember to breathe deeply throughout your foam rolling session. Holding your breath can increase tension in your body, which is the opposite of what you want to achieve. Also, keep your core lightly engaged to support your body and maintain proper form, especially when working on your back or hips.
When to Foam Roll
Foam rolling is versatile! You can incorporate it:
- Before a workout: To warm up muscles, increase blood flow, and improve your range of motion, preparing your body for activity.
- After a workout: To help release muscle tension, reduce soreness, and promote recovery.
- On rest days: To maintain mobility, release any lingering tightness, and generally feel more supple.
Top Foam Roller Exercises for Beginners: Your Full-Body Routine
Ready to roll? Here are some essential foam roller exercises perfect for beginners, targeting major muscle groups. Perform each for 30-60 seconds, or hold on tender spots for 20-30 seconds.
1. Upper Back (Thoracic Spine)
- How to: Lie on your back with the foam roller positioned horizontally underneath your upper back (around your shoulder blades). Bend your knees, keep your feet flat on the floor, and cross your arms over your chest or place your hands behind your head to support your neck. Lift your hips slightly off the floor and slowly roll up and down between your lower neck and mid-back. Focus on any tight spots. Remember to avoid rolling onto your lower back.
2. Quadriceps (Front of Thighs)
- How to: Begin in a forearm plank position with the foam roller placed horizontally under your quadriceps. Using your forearms for support, slowly roll back and forth from just above your knees to your hip flexors. You can shift your weight slightly from side to side to target the inner or outer aspects of your thighs.
3. Hamstrings (Back of Thighs)
- How to: Sit on the floor with the foam roller under your hamstrings. Place your hands behind you on the floor for support. You can roll both legs simultaneously or cross one leg over the other for increased pressure on a single hamstring. Slowly roll from just above your knees to just below your glutes.
4. Calves
- How to: Sit on the floor with one leg extended and the foam roller under your calf. You can rest your other foot on the floor with a bent knee, or place it on top of the extended leg for more pressure. Prop yourself up with your hands behind you and slowly roll from your ankle to just below your knee. Rotate your leg slightly inward and outward to target different areas of the calf muscle. Repeat on the other leg.
5. Glutes
- How to: Sit directly on the foam roller. Cross one ankle over the opposite knee (like a figure-four stretch). Lean into the glute of the crossed leg, supporting yourself with your hands. Slowly roll around the gluteal area, focusing on any tight spots. Repeat on the other side.
6. Side Quads / IT Band Area
- How to: Lie on your side with the foam roller positioned under your outer thigh, just above the knee. Support your upper body with your forearms. Your top leg can be bent with the foot on the floor for balance, or stacked on the bottom leg for more pressure. Slowly roll from just above your knee to just below your hip bone. If it’s too intense, reduce pressure by putting more weight on your hands and feet.
Integrating Foam Rolling into Your Daily Routine
The key to long-term benefits with your foam roller for beginners is consistency. Even 5-10 minutes a day, or every other day, can make a significant difference. Try to make it a part of your warm-up or cool-down, or use it during a midday break to refresh tired muscles. Pairing foam rolling with gentle stretching can further amplify its effects, helping you achieve even greater flexibility and muscle relaxation. As you become more comfortable, you might find certain muscle groups respond better to different techniques or durations. Experiment and discover what works best for your body!
Frequently Asked Questions (FAQ)
How often should a beginner foam roll?
For beginners, starting with 2-3 sessions per week is generally recommended. As your body adapts and you become more comfortable, you can gradually increase the frequency and intensity, even rolling daily if it feels good.
How long should I spend on each muscle group?
Aim for 30-60 seconds on each muscle group. If you find a particularly tender spot, you can pause and hold pressure for 20-30 seconds before continuing to roll.
Is it okay if foam rolling hurts?
It’s common to feel discomfort, especially when rolling over tight spots or knots. However, it should never be excruciating or sharp pain. If you experience intense pain, reduce the pressure or move to a different area. Listen to your body!
Can foam rolling help with specific pain, such as lower back pain?
While foam rolling can alleviate general muscle tightness that contributes to pain, direct foam rolling on the lower back is generally not recommended for beginners due to the risk of hyperextension. Focus on the upper and mid-back, glutes, and hips to indirectly support lower back health. Always consult a healthcare professional for persistent pain or injury.
When is the best time to foam roll?
Foam rolling can be beneficial at various times. Before a workout, it can help warm up muscles and increase range of motion. After a workout, it aids in muscle recovery and reduces soreness. On rest days, it helps maintain mobility and alleviate tightness. Choose a time that fits best into your routine.
Conclusion
Embarking on your foam rolling journey with a foam roller for beginners is an investment in your body’s health and longevity. It’s a powerful, accessible tool that empowers you to take control of your muscle recovery, flexibility, and overall well-being. By understanding its benefits, choosing the right equipment, and applying safe, effective techniques, you’re not just rolling out knots – you’re building a foundation for a more comfortable, active, and resilient you. So grab your foam roller, start slowly, and allow Reviewters Recovery to be your trusted guide on the path to feeling your absolute best. Your body will thank you!